
Just like a successful road trip, your next project needs plenty of snacks, some good music, and most importantly: a roadmap.
A roadmap is a visual representation of a project’s timeline of development. It not only delivers the project’s big picture, but it also allows you to share a strategic vision with your team. With a project roadmap, your team can coordinate efforts and achieve objectives effectively according to a common plan.
At its core, a good project roadmap should show these four key details:
- Goals
- Schedules
- Milestones
- Dependencies
However, this list can make for a very complicated display of information when you factor in all the moving pieces of your project. To help you visualize this information in a nutshell, the Gantt chart can be your best friend. Yes, we just said that.
The goal is to guide you in the right direction since you and your team will have a preference for how you build & use Gantt charts depending on the size, scope, and type of project.
What Is A Gantt Chart?
A Gantt chart is effectively a graph that displays a list of tasks side to side with the amount of time allocated to get them done.
Gantt charts often get a bad rep because they can get over-complicated and difficult to interpret, but there are a number of reasons to give them a second look:
- Share information easily: Everyone in the project gets notified of updates at the same time. Sharing the big picture is often a good way to motivate each other.
- Get planning peace of mind: Once planning is done, you can make more focused and effective decisions regarding resource allocation, timetables, and even your own tasks.
- Monitor project progress for productivity: Gantt charts help you leverage tasks and deadlines for maximum efficiency.
Think of it this way: If someone is waiting for your work to be done, and you can see that every time you look at the Gantt chart, are you going to procrastinate?
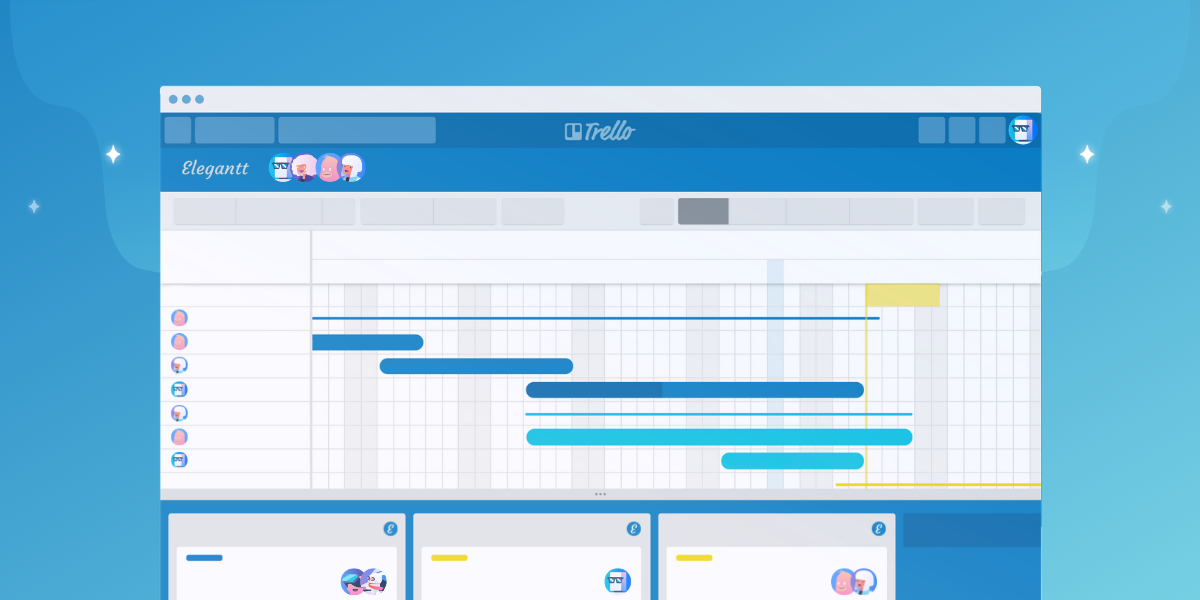
The key to leveraging these perks is to use Gantt charts to their full potential without making them a burden to prep and update. Building a project roadmap in Trello gives you an automatic way to generate Gantt charts on demand. Plan your project, and your chart will follow. Not so scary now, is it?
Before we dive in, here’s how to set up a Trello board to optimize for creating a fully functional (and even fun) Gantt chart!
Keep Your Trello Board Focused
A Trello board is often created with a specific end result in mind, so maybe your day-to-day Trello board isn’t ready to be the great roadmap of your dreams. Instead, create a new one that is focused on your project plan. Keep your project goal visible on a Trello card so you can refer to it every time you have a doubt about the project tasks or priorities and ask: “Is this really helping us reach our goal?”
Since each task on the board will become part of your roadmap (and Gantt chart), define and review project priorities on a regular basis. Don’t be afraid to throw tasks away if they’re not in sync with the goal you defined earlier. Ask questions like:
“Is this effort good enough for what I want to do?”
“Do I have enough time to complete this task without disrupting the project’s schedule?”
“Is this task really helping me with my objective?”
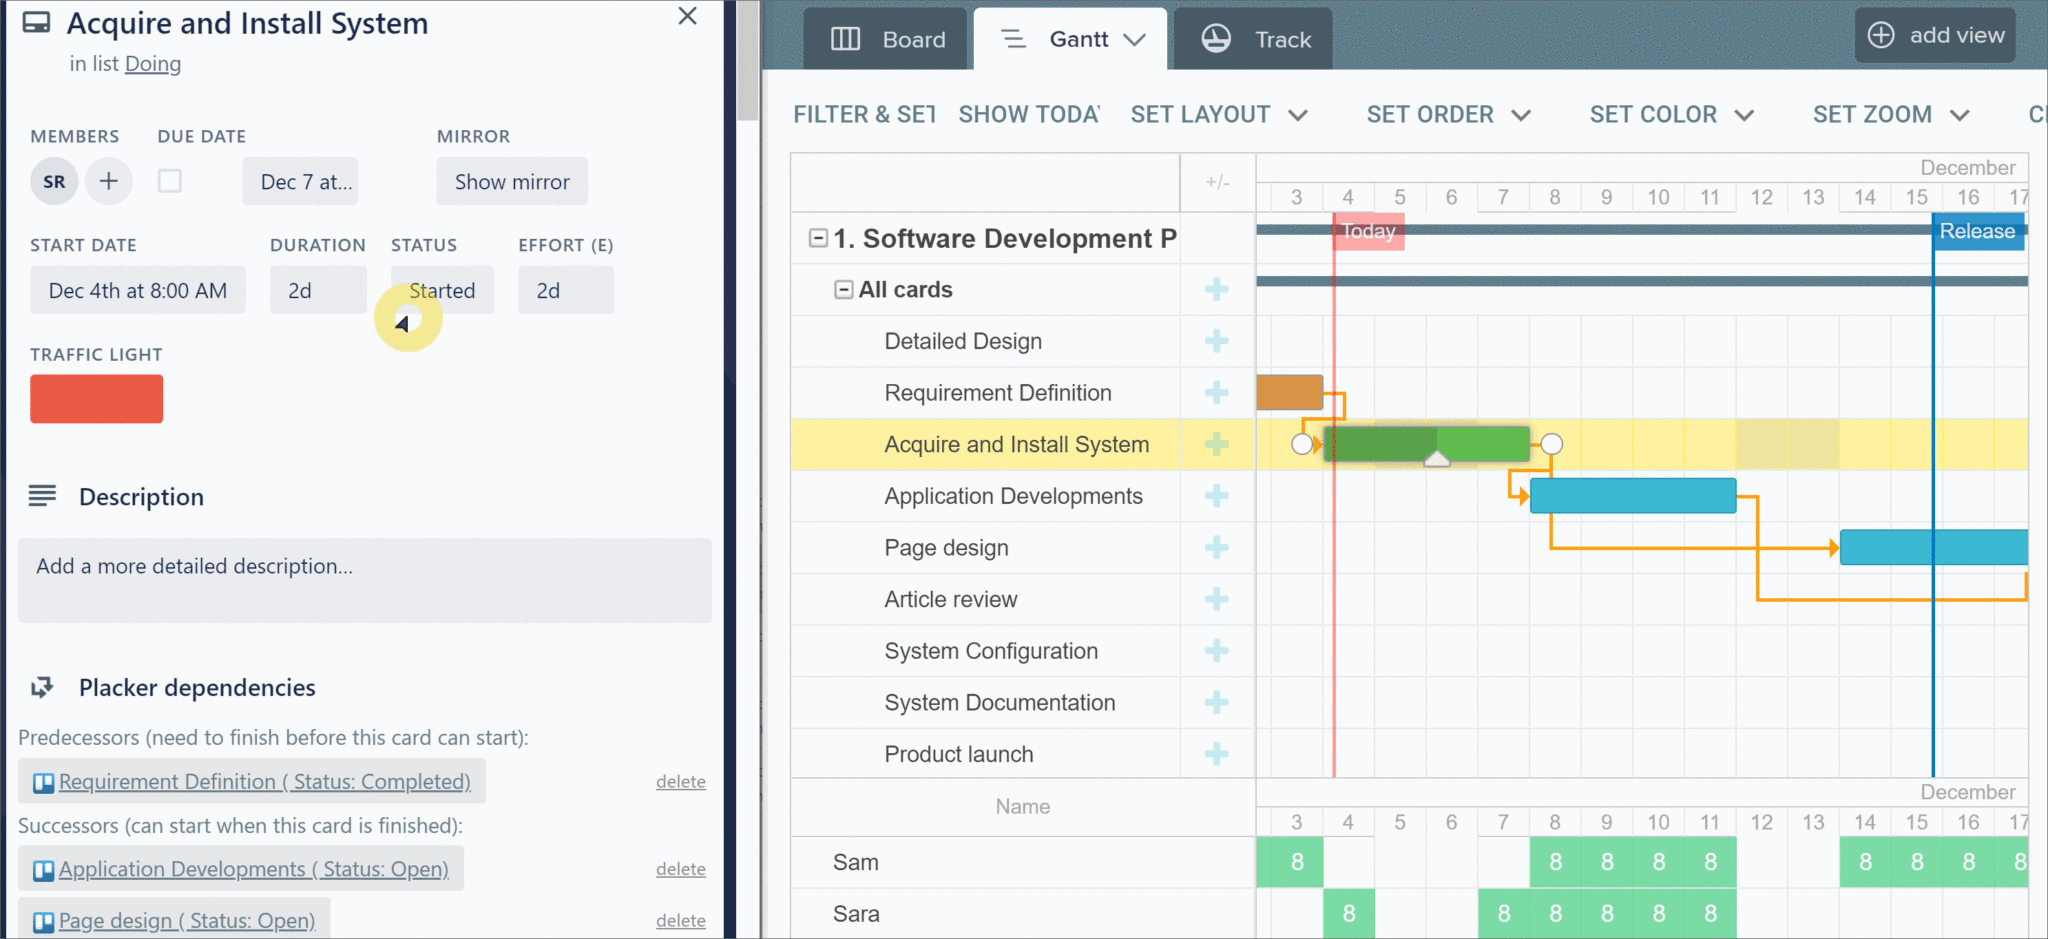
By constantly questioning your board, you’ll also be able to better detect the critical path, a sequence of tasks which must be completed on time if you don’t want to delay the entire project. Your project’s critical path is made up of “must-have” dependencies: tasks that can only be started when previous ones are completed.
The bottom line? Set your team up for success by keeping focused on what tasks are truly critical to the project’s completion.
Break It Down (And Down Again)
Next, start organizing your lists with a simple Kanban-inspired workflow:
Using the Kanban method, you “pull” work as you have capacity, rather than work on tasks by being “pushed” into the process when requested. This means that as a task is worked on, its card moves from left to right on the project board.
After setting out workflow stages of “To Do,” “Doing,” and “Done,” break your project down into major divisions. Choose the top level of task organization according to your project, and identify these using labels. You can organize tasks by your different teams (such as Marketing, Dev and Design) or the main parts of the project itself (like Logistics, Location, Guests and Honeymoon). You’ll be able to sort tasks by these labels later.
While you’re designing your project, it can be helpful to sort all of this as a draft in a separate document. You’ll want to break the project down further with sub-groups if necessary, tasks, checklists, and so on, until you get short enough tasks that they can be easily estimated in terms of duration. The trick here is naming your task with the pattern verb + subject so you’re sure it is specific enough. For example, “Press Relations” is more a sub-group than a task, whereas “Make a list of tech journalists” is a real task.
Once you’re satisfied with your project structure, you can create each task on your Trello board under the “To Do” list. Use different colored labels to organize tasks by your top level teams or project parts.
Another part of the “break it down” principle is to make sure your task titles and descriptions are clear enough. If anything is ambiguous, a seemingly-small bit of work could become a huge problem when multiple teams are involved and important milestones are on the horizon.
Set Your Project’s Schedule With A Gantt Chart
Timing is one of the biggest parts of project planning. You have to define milestones to mark significant achievements along the way and deadlines to ensure all tasks keep on track to finish the project on time. Here are some tips to help you there:
- Ask yourself what could ruin your plan. Where are the risks? How could you avoid them?
- Coordinate with your team and have them estimate how long each of their assigned tasks will take to complete.
- Deadlines are good, but visualizing durations is better. Your roadmap has to show end dates and start dates.
- Tasks that seem “easy” or “fast” to complete are seriously exposed to procrastination. Avoid deadlines on weekends or holidays. Even better, decide in advance if each deadline is better completed on the Monday after or Friday before to keep fire drills to a minimum.
Then, just set a due date on each card. With all your tasks itemized, categorized, and set on a timeline, your Gantt chart is just a click away.
Your Gantt Chart Options in Trello
Ok, so you’ve sorted out the methods, recommendations, and heck, even philosophy behind the humble Gantt chart. Let’s dig into how to access this magical wonder within Trello!
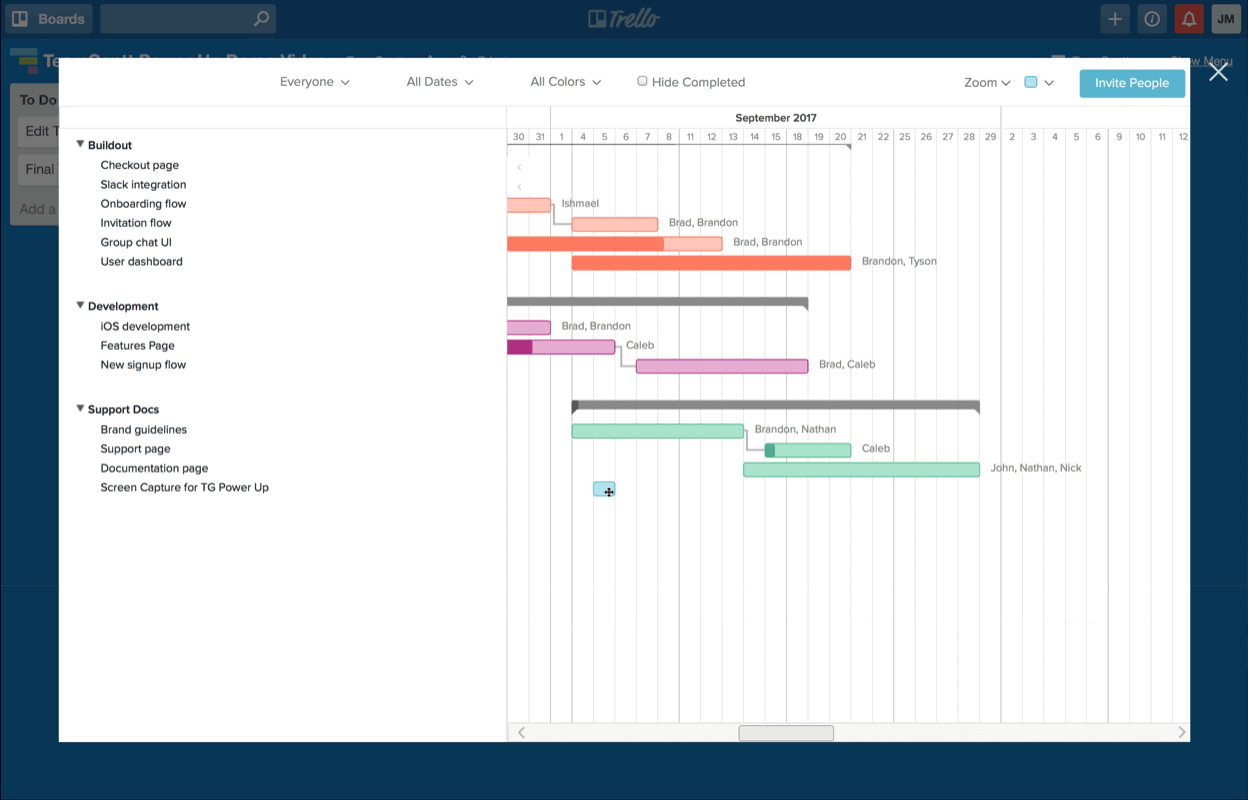
Within the Trello Power-Up Directory, you’ll be able to access the following tools:
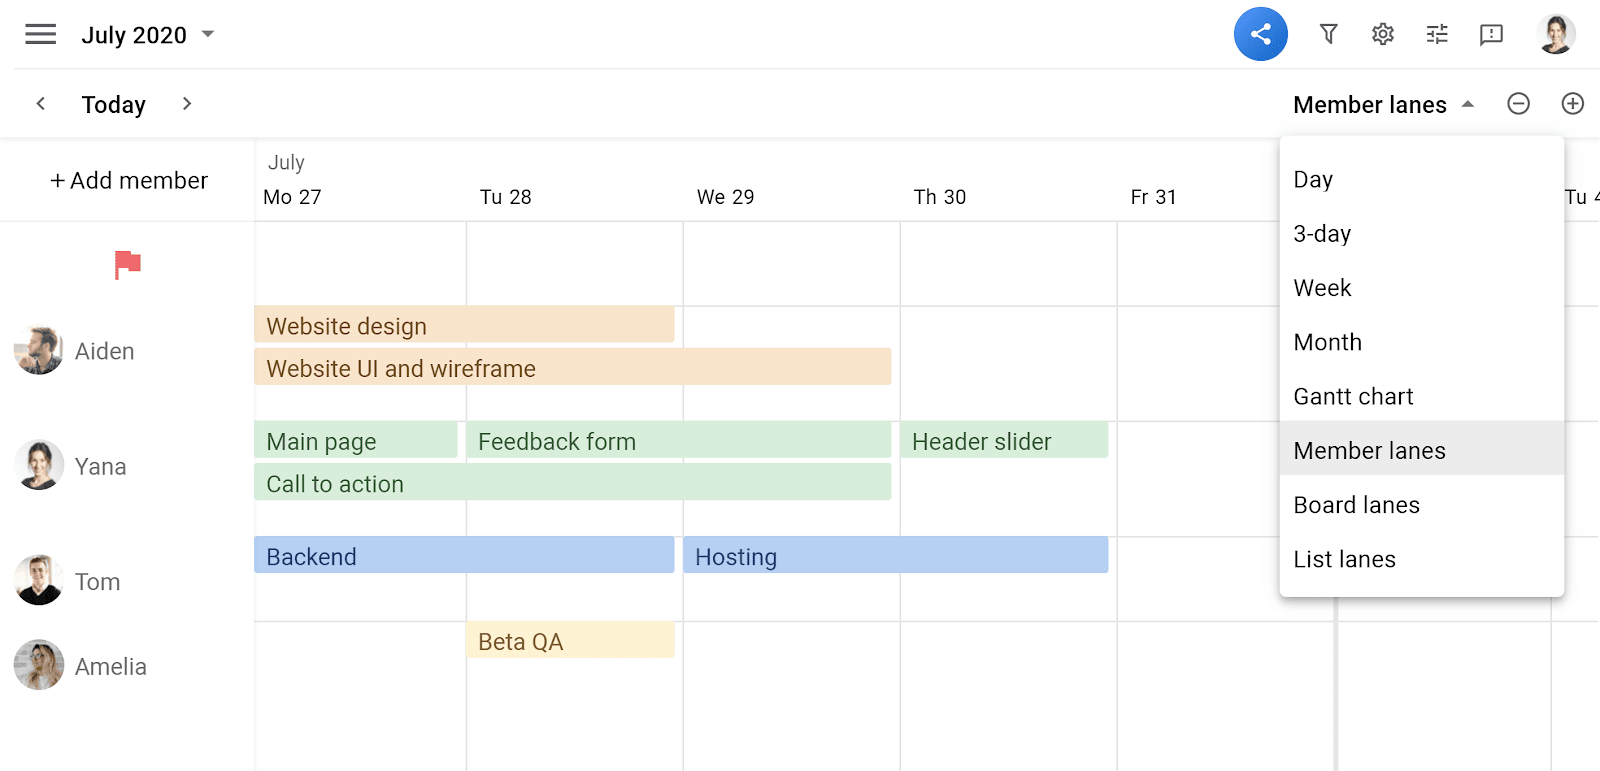
Planyway
With the Planyway Power-Up, you are able to get various views of your project using their Team Timeline feature. Whether it’s by different team members or lists, you can view your project in various forms.
The best thing about Planyway is how your Trello cards and lists sync seamlessly with the Planyway interface. Any project update or due date you need to check up on will be immediately mirrored in Planyway.
Planyway is a free Power-Up to use, however, the Team Timeline function within it is only available with a paid plan to Planyway.
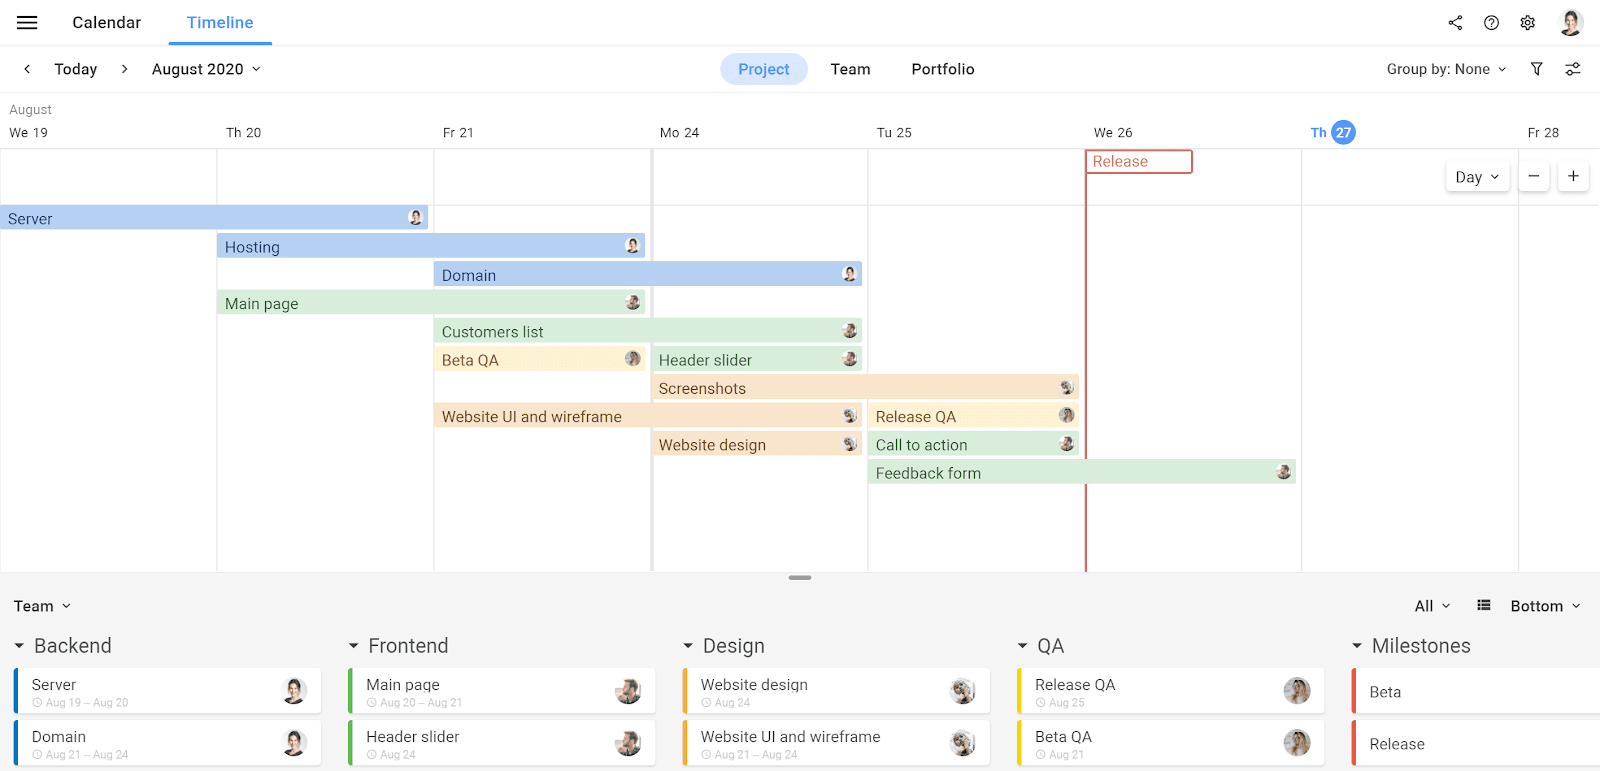
TeamGantt
While you need a paid plan for a larger team, there is a free option that is best suited for smaller teams with the TeamGantt Power-Up.
To enable the TeamGantt Power-Up on your Trello board, add the TeamGantt Power-Up and choose which project you’d like to see in Gantt configuration. Whether you want multiple cards to represent one gantt chart or if you’d like multiple boards to be one, gantt chart—the options are varied, just like your project!
Placker
The Projects by Placker Power-Up is an all-in-one Power-Up for project management that includes a comprehensive Gantt chart.
Placker offers a flexible Gantt chart with an extensive set of features. Plan cards and checklists items across one or multiple boards. Set the layout and filters in any way you want, create dependencies between cards and checklist items to visualize your critical path, create baselines and view your resource planning in the resource overview.
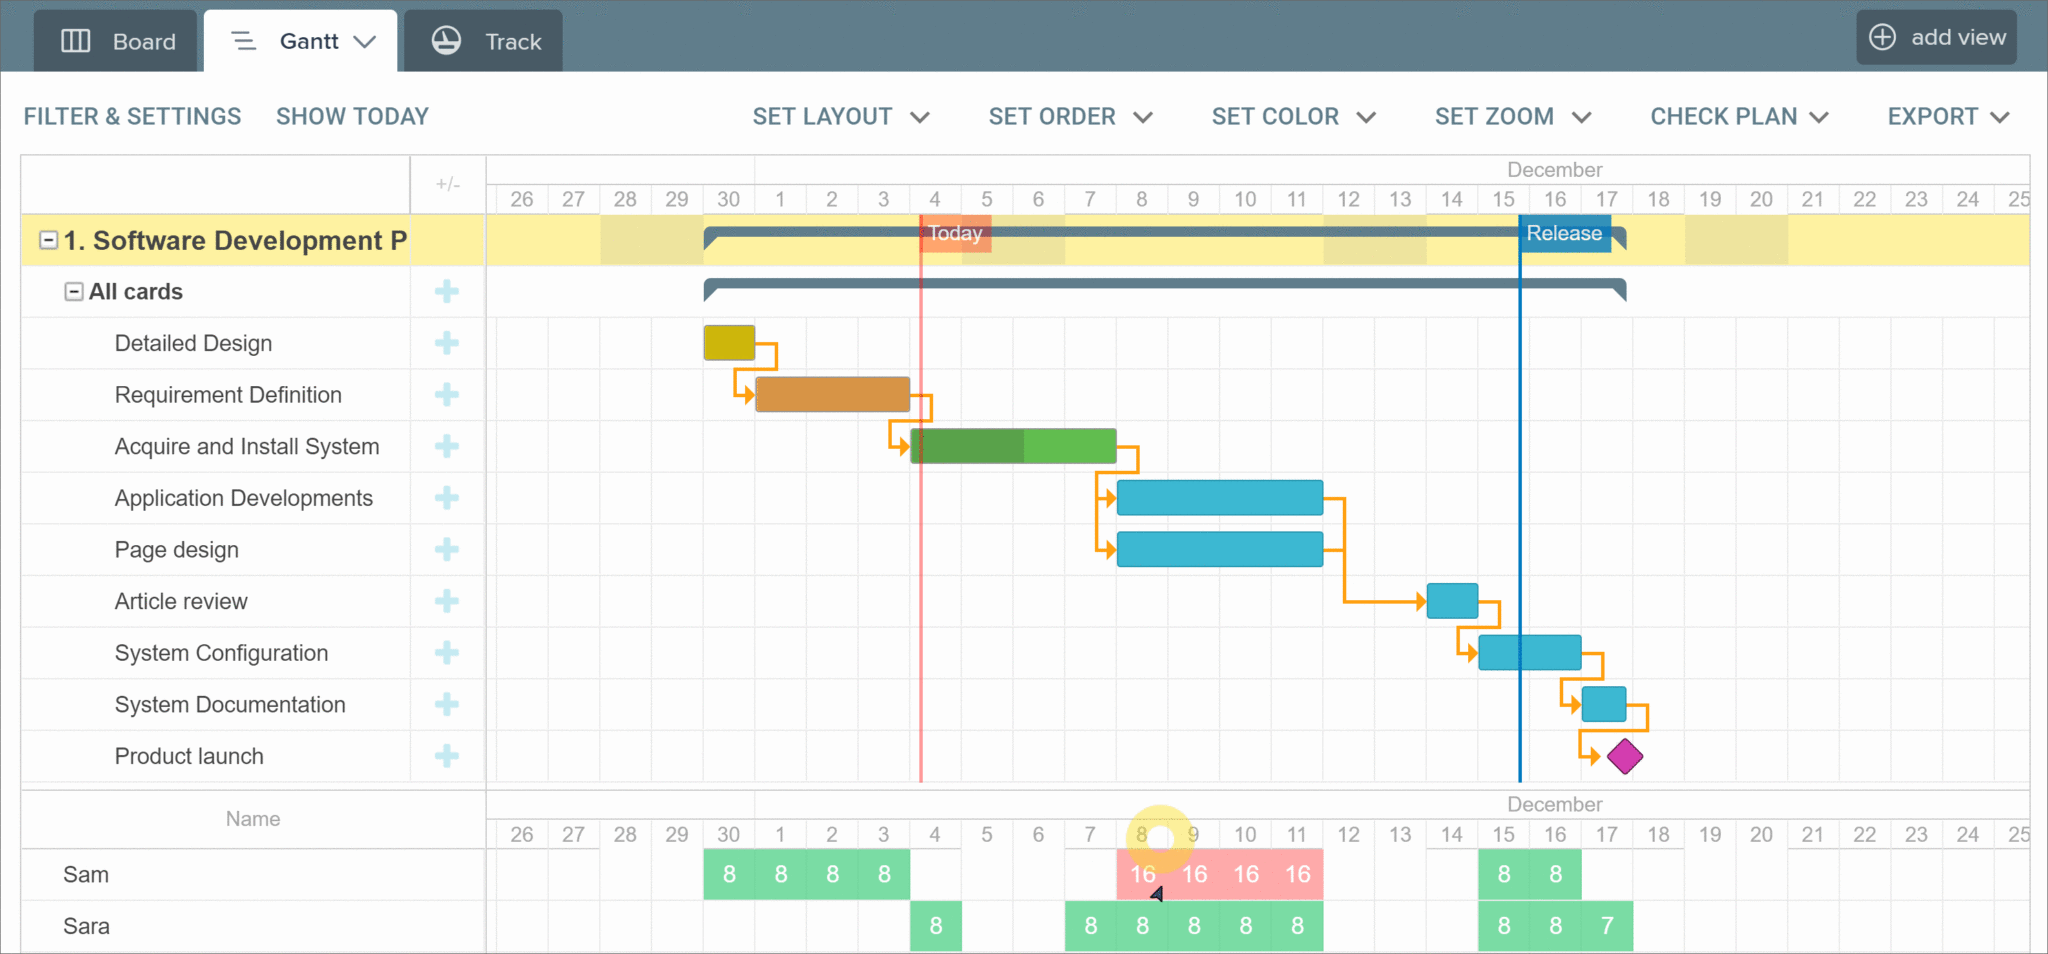
Placker and Trello are seamlessly integrated, any updates on the cards in Trello will be reflected in the Gantt. Any updates in the Gantt will be updated in Trello. This way no one will miss any update.
Enable the Project by Placker Power-Up on your Trello board to generate the Gantt chart in Placker. Placker adds more than only the Gantt to make sure you can meet your plans. Use card mirrors to distribute work across boards or track your status on dashboards. This Power-Up starts with a 15 day free trial and requires a paid plan after that.
Gantt Get Enough?
Gantt charts are a fantastic and visual way to organize your next team venture, especially with Trello in tow—it’ll be a lean, clean, productivity-driven machine.
Get that Trello board ready, those lists assigned, and your due dates lined up: it’s time to see your next project through the finish line, and beyond.